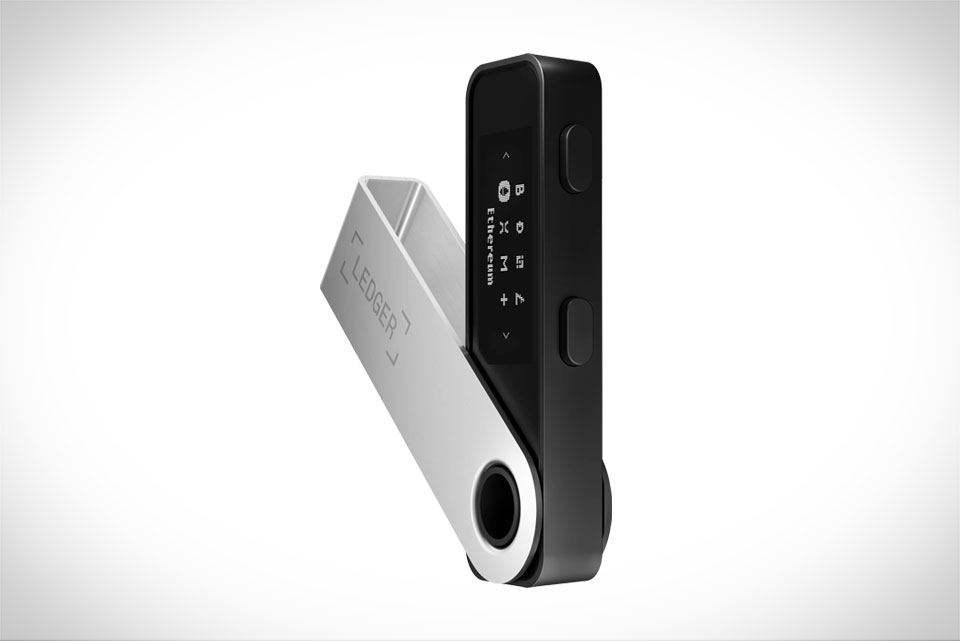
Setting up your Ledger Nano S Plus as a new device is a straightforward process that takes about 10–15 minutes. Follow this step-by-step guide to securely initialize your hardware wallet and start managing your crypto assets.
Step 1: Unbox and Inspect Your Device
Before you begin, carefully inspect your Ledger Nano S Plus package:
Ensure the box seal is intact and untampered.
Inside the box, you should find:
Ledger Nano S Plus device
USB-C cable
Three blank recovery sheets
Quick start guide
Ledger stickers
Critical: The recovery sheets must be blank. Ledger never pre-writes recovery phrases. If you find pre-filled words, do not use the device — it may be compromised.
Step 2: Download Ledger Live
Ledger Live is the official companion app for managing your Ledger device.
Visit this is the only official setup page.
Download Ledger Live for your operating system (Windows, macOS, Linux, or Android).
Install and launch the app.
Never download Ledger Live from third-party websites or search engine results — phishing clones are a constant threat.
Step 3: Connect and Initialize Your Device
Connect your Ledger Nano S Plus to your computer using the USB-C cable.
Press both buttons on the device to start.
On the device screen, select "Set up as new device".
Create a PIN code (4–8 digits) using the left/right buttons to change digits and both buttons to confirm.
Step 4: Write Down Your 24-Word Recovery Phrase
Your device will display 24 recovery words, one at a time.
Write them down in order on the provided recovery sheet.
Never store your recovery phrase digitally — do not:
Take a photo
Screenshot it
Type it into any computer or phone
Store it in cloud storage
Store the recovery sheet in a secure, offline location (e.g., a safe or bank safety deposit box). Consider making multiple copies and keeping them in different physical locations.
Your recovery phrase is the master key to all your crypto assets. Anyone with access to it can drain your wallet.
Step 5: Verify Your Recovery Phrase
The device will ask you to confirm a few of the words in the correct order to ensure you wrote them down accurately. Complete this verification step carefully.
Step 6: Verify Device Authenticity
In Ledger Live:
Go to "My Ledger".
Connect and unlock your device.
Press both buttons to confirm "Allow Ledger Manager".
Ledger Live will confirm "Your device is genuine".
Step 7: Install Cryptocurrency Apps
In Ledger Live, go to the "Manager" tab.
Connect and unlock your device.
Search for and install apps for the cryptocurrencies you want to manage (e.g., Bitcoin, Ethereum, Solana).
The Nano S Plus supports up to 100 apps and over 5,500 coins and tokens.
Step 8: Add Accounts and Start Using
In Ledger Live, go to "Accounts" and click "Add account".
Select the cryptocurrency and follow the prompts.
Your Ledger Nano S Plus is now ready to send, receive, and securely store your digital assets.